Content:
High-end portrait retouching requires meticulous attention to detail and a refined skillset in Adobe Photoshop. With the right techniques, you can enhance portraits while maintaining a natural, professional look.
Start by using Photoshop’s portrait retouching tools to smooth skin, remove blemishes, and even out tones. The Healing Brush and Clone Stamp are perfect for removing imperfections, while the Frequency Separation technique allows for more precise retouching without disturbing the skin’s texture.
Use the tablet to adjust lighting and shadows, enhancing the face’s contours and adding depth to the portrait. Custom retouching brushes allow you to refine small details and create realistic effects, giving the image a polished, high-end look.
By mastering high-end portrait retouching techniques, you can create flawless images that look both natural and professionally enhanced.
Image Description:
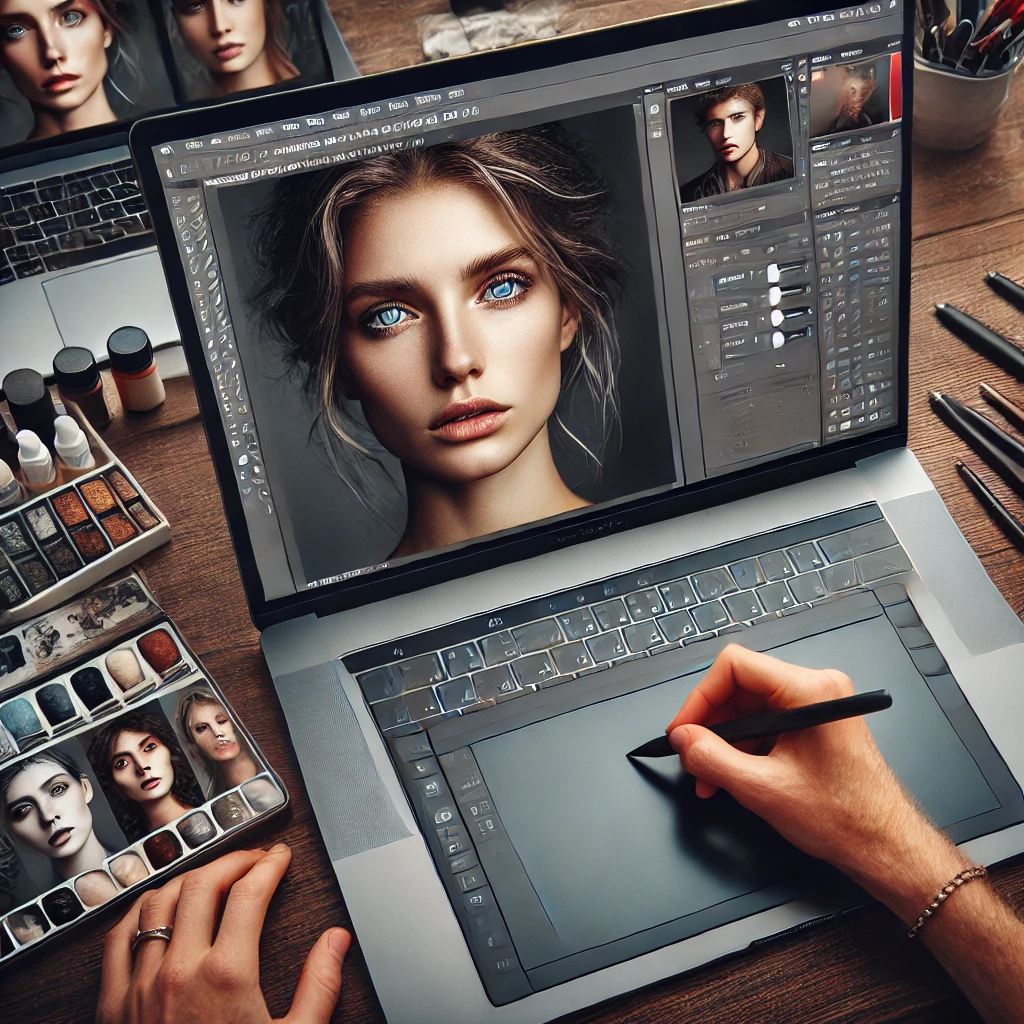
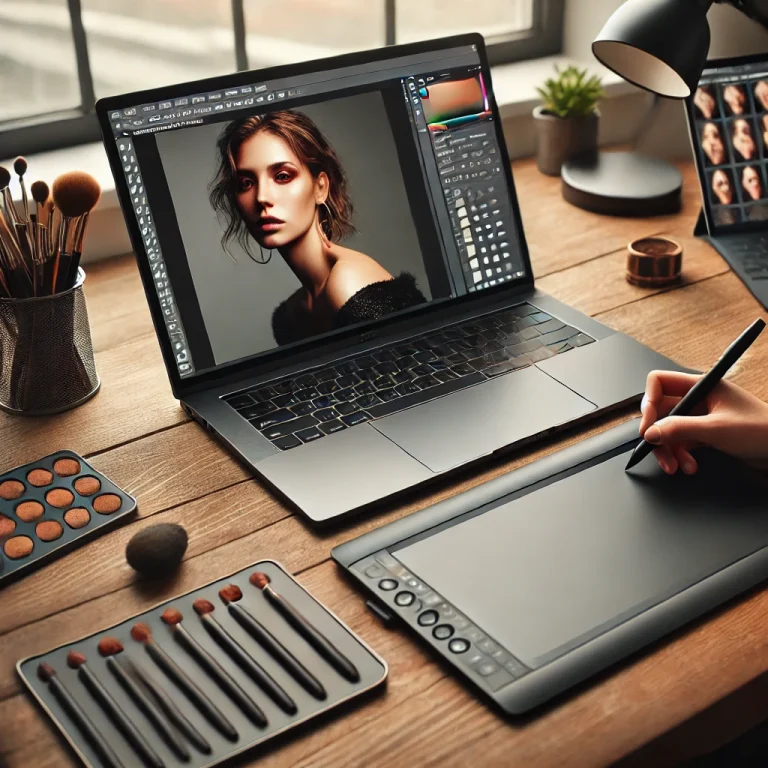
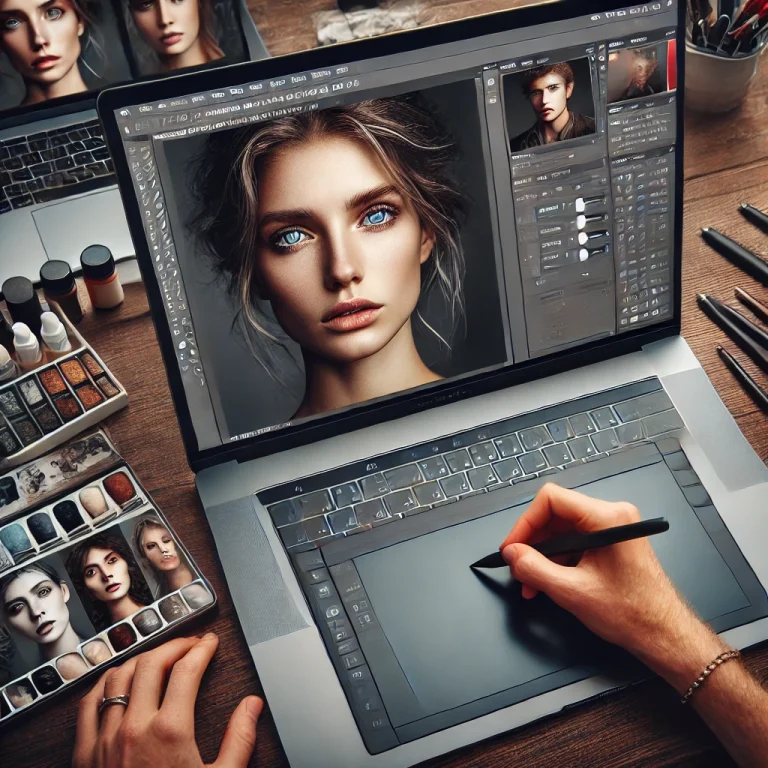
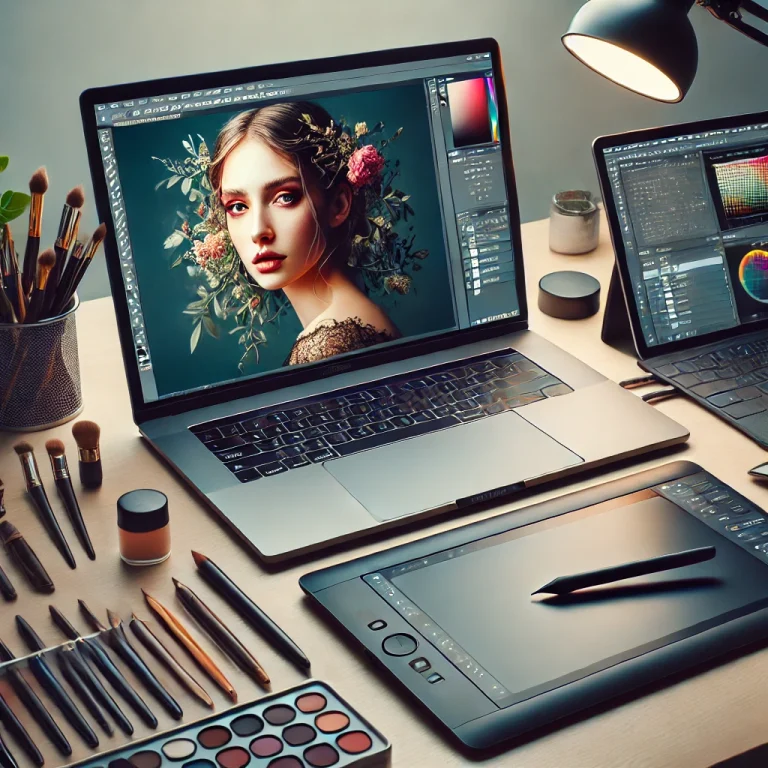
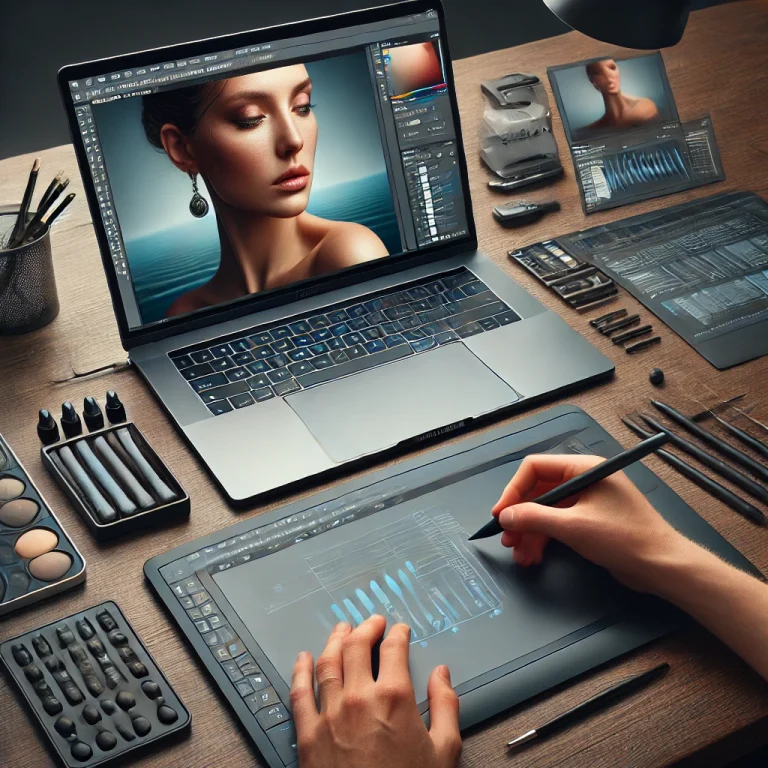
The image above depicts a designer’s workspace for high-end photo retouching. A laptop displays Adobe Photoshop with detailed portrait retouching tools, a tablet is used for adjusting lighting and shadows, and a selection of custom retouching brushes is visible, showcasing the retouching process.

+ There are no comments
Add yours